The Interior Design Process Stage by Stage
Eight connected stages that take a villa from the first client conversation to a coordinated design ready for construction.
Written by Eng. Lubna Sobeh · Founder & Interior Design Director ·
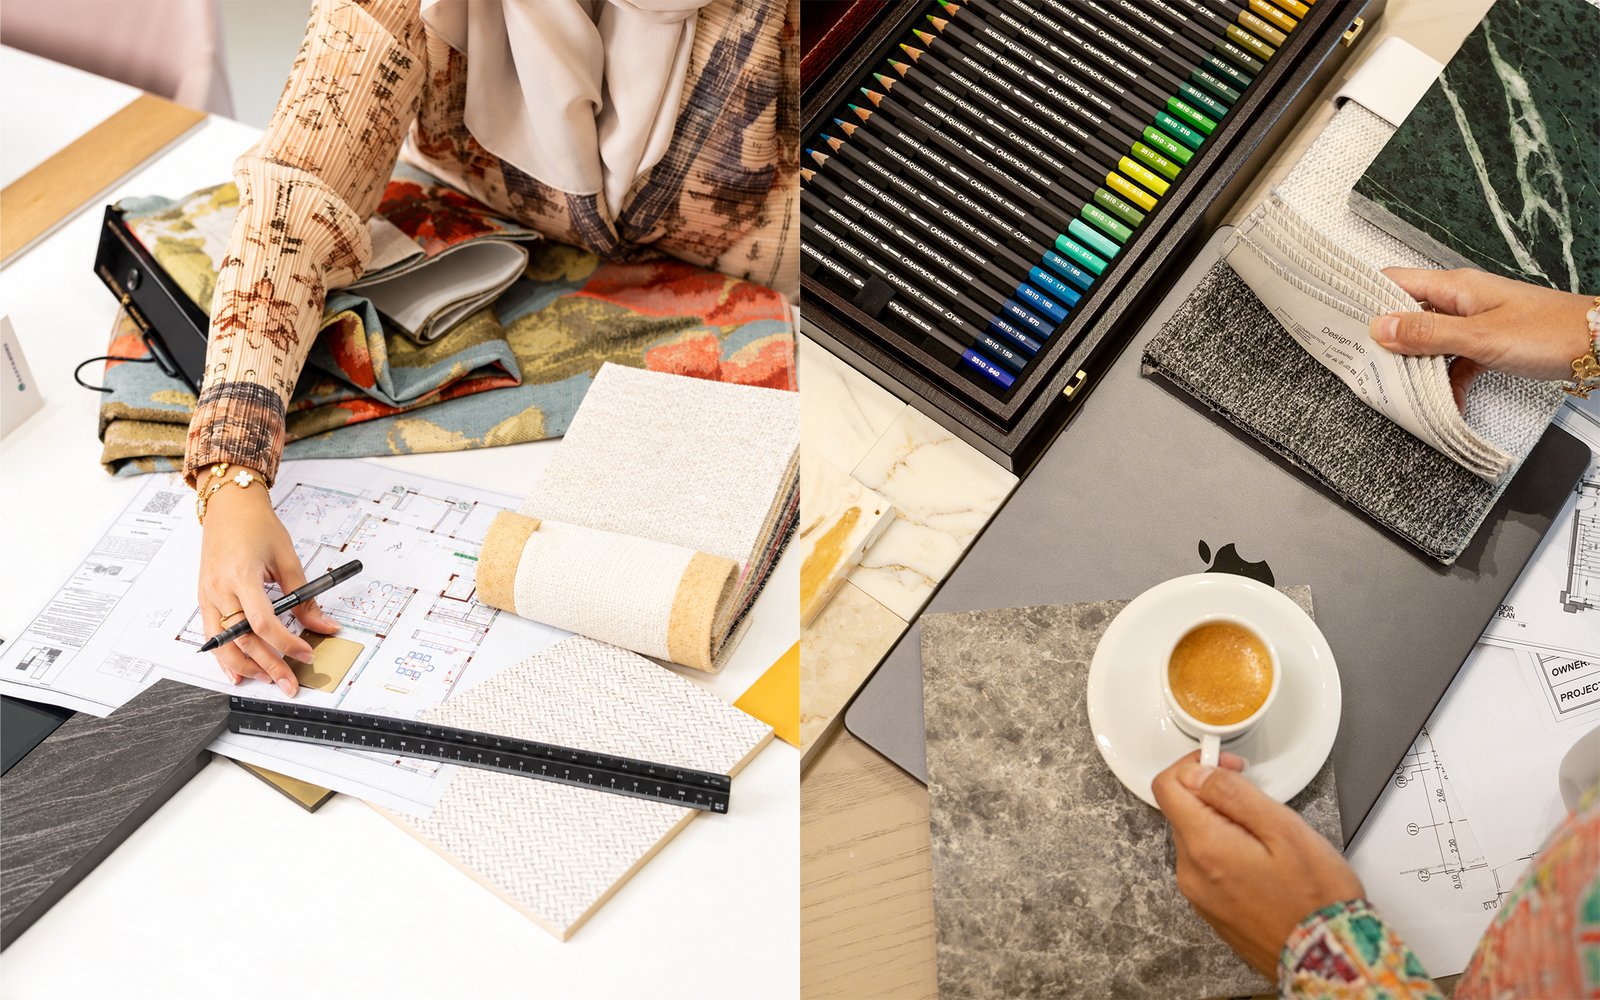
For a villa or high-end residence, the process moves from understanding the client to organizing the space, defining the design language and coordinating the technical information required before construction begins.
By the time the project reaches design freeze, the interior should no longer be simply an image of what the home could become. It should be a clear, coordinated plan for how it will be realized.
Key Takeaways
- The process moves through eight connected stages from consultation to design freeze.
- A render shows direction and proportion but cannot replace samples, drawings or professional judgement.
- If the space planning is wrong, decoration will not correct it later.
- A successful interior is rarely the result of one inspired idea. It develops through a sequence of decisions, each building on the last.
1 Consultation
Every project begins with understanding the client, not only preferred styles and colors but how the home will actually be used. Family routines, entertaining, privacy, children, guests, staff and long-term needs create the brief that guides everything after it.
2 Space Planning
Before marble or fabrics are selected, the layout needs to work. Space planning considers furniture, circulation and the relationship between formal, private and service areas. In a villa, this may mean how the Majlis connects to guest areas or how family spaces remain private.
3 Concept Development
Once the space is resolved, the character of the interior begins to form through atmosphere, architectural language, color balance and the material palette. The aim is to establish a consistent thread across the villa while allowing individual spaces to retain their identity.
4 Materials and Finishes
Materials are selected as a composition, not one sample at a time. A stone that is beautiful on its own may be too dominant beside a particular timber. The objective is balance rather than simply selecting the most expensive finish.
5 3D Visualization
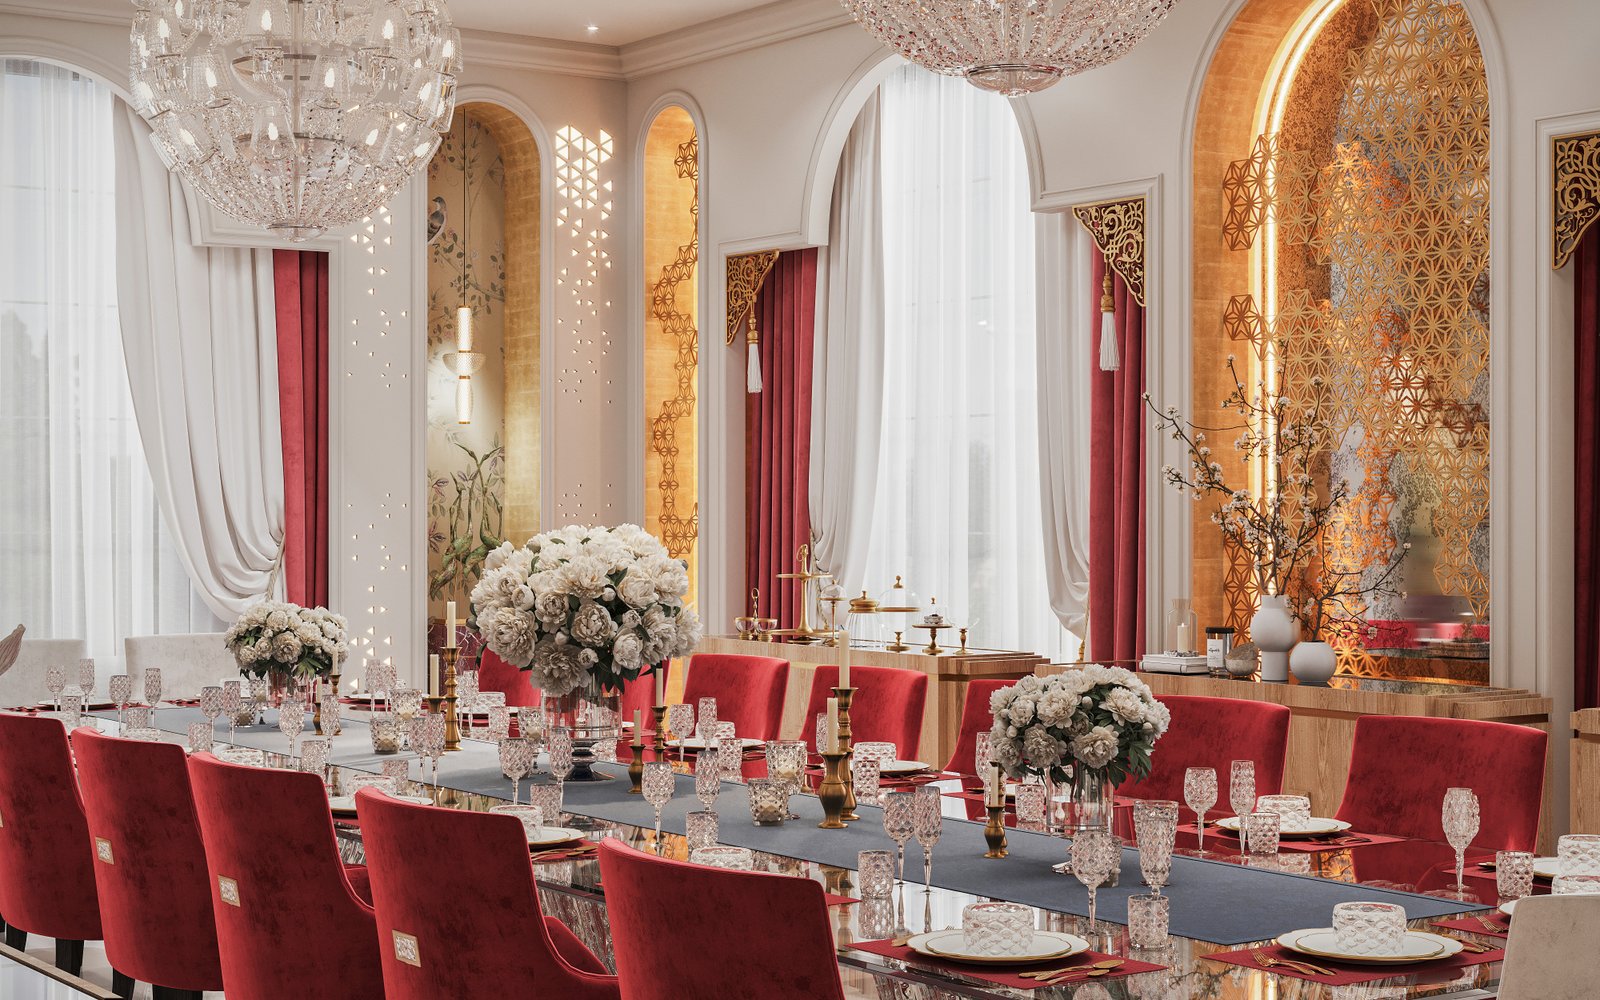
Visualization allows the design to be tested before it is built. It is equally important to understand what a render cannot show. It cannot perfectly reproduce the tactile quality of a material or exactly how a surface will respond to daylight. It is a design tool, not a substitute for physical samples or technical drawings.
6 Detailed Drawings
A beautiful render cannot be built by itself. Detailed drawings translate the design into information that contractors and specialists can work from, including dimensions, elevations, ceiling details, joinery and lighting positions. This is where the idea becomes buildable.
7 Technical Coordination
Lighting, air conditioning, electrical points, plumbing and joinery all interact. A ceiling may need to accommodate light fittings, AC diffusers, speakers and access panels without appearing crowded. Resolving these relationships on drawings is more effective than solving them on site.
8 Design Freeze
Design freeze is the point at which the major decisions have been reviewed, coordinated and approved so construction can move forward with confidence. It does not mean that nothing can ever change. It means the core design is established so late revisions do not create unnecessary cost or delay.
The value of the process lies in its sequence. The brief informs the layout, the layout supports the concept, and drawings and coordination protect the design when it moves to site.
Author
Eng. Lubna Sobeh — Founder & Interior Design Director
Eng. Lubna Sobeh founded Lagoon Design for Decoration in Qatar in 2011 and leads the studio’s interior design direction across luxury residential interiors and design-led projects.